
Using Site Photos for a Vending Quote: Show When and Where They Were Taken
Site photographs can make an early vending discussion much easier. They show the proposed position and give the supplier a starting point for questions about access and layout. Their value drops quickly when nobody knows where they were taken, how old they are or what lies outside the frame. Send a small, clearly labelled set rather than a large collection of unexplained images.
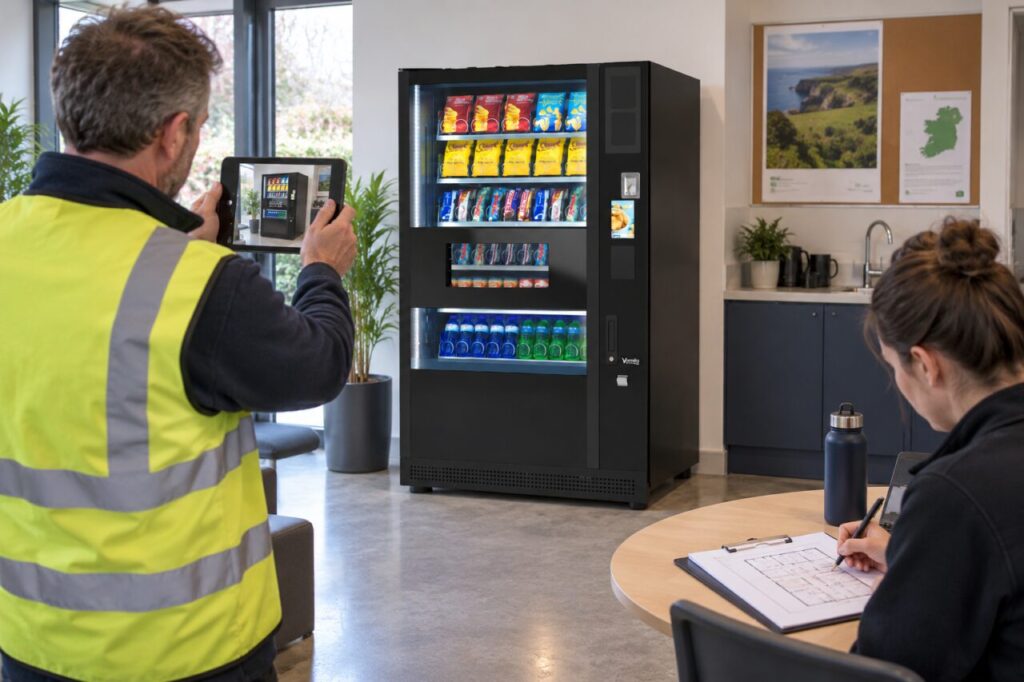
Start with the proposed position
Take an overall view of the area from the direction customers normally approach. Include enough surrounding space to show nearby furniture, doors and circulation. Then take another view that makes the intended machine position clear. Avoid presenting a close-up of an empty wall as though it describes the whole installation environment.
Label each image with the site, room and date. If a photograph comes from an earlier fit-out or a landlord’s brochure, identify it as such. Do not crop away a relevant obstacle merely to make the area look tidier. The supplier needs an accurate starting point, including uncertainties, rather than a polished promotional photograph that suggests a simpler installation than the site can provide.
Connect photographs to the route
Show the relevant approach from the agreed delivery access point, including changes of direction or level that the supplier asks to see. A simple sketch can help connect the images: mark where each photograph was taken and which way the camera faced. This is particularly useful in buildings with similar corridors or more than one entrance.
Keep photographs separate from verified measurements. Perspective can make a doorway or corridor look larger than it is. Provide requested dimensions through the agreed survey process, and state who measured them. Do not use a photograph of a tape measure as a substitute for explaining which dimension it represents. Where a supplier needs a site visit or further assessment, photographs support that work; they do not automatically replace it.
Explain changes and uncertainty
If the room is still being prepared, list what will change before installation. A temporary desk, unfinished floor or planned door alteration should not disappear from the discussion simply because it is expected to be resolved later. State the current condition, proposed change and expected readiness date, and ask whether the supplier needs updated evidence before confirming the plan.
Make uncertain details visible. For example, say that an adjacent socket has not yet been assessed for the proposed equipment rather than describing it as a suitable supply. Similarly, a visible lift does not confirm its suitability for the delivery. The responsible people need to check the relevant equipment and building requirements. Good photographs reduce avoidable questions, but they should not be used to imply approvals that have not been obtained.
Keep one current set with the quotation
When new images replace older ones, send a short note explaining what changed. Keep the accepted quotation linked to the latest agreed site information. Otherwise, a buyer may approve a revised position while the delivery team still works from the original photographs. A simple version label can be enough to prevent that confusion.
For vending equipment enquiries, useful photographs help focus the next conversation on your actual site. Include expected users, opening hours and the products you want alongside the images. Before taking photographs, follow the site’s rules and avoid capturing staff records, access codes or personal information. The aim is a clear, proportionate description of the installation area that lets the supplier identify what can be discussed remotely and what still needs a proper check in person.
Send your site requirements to the team to begin the equipment discussion.
Related guidance: A Floor Plan Changes After the Vending Survey: Request a Recheck.