
Vending Installation Photos: What Helps a Remote Site Assessment?
Photographs can help a vending supplier understand a proposed installation before a site visit. Their value depends on what they show and how clearly they are explained. A close-up of an empty corner may miss the route into the room, nearby doors or the activity that makes the position difficult to use.
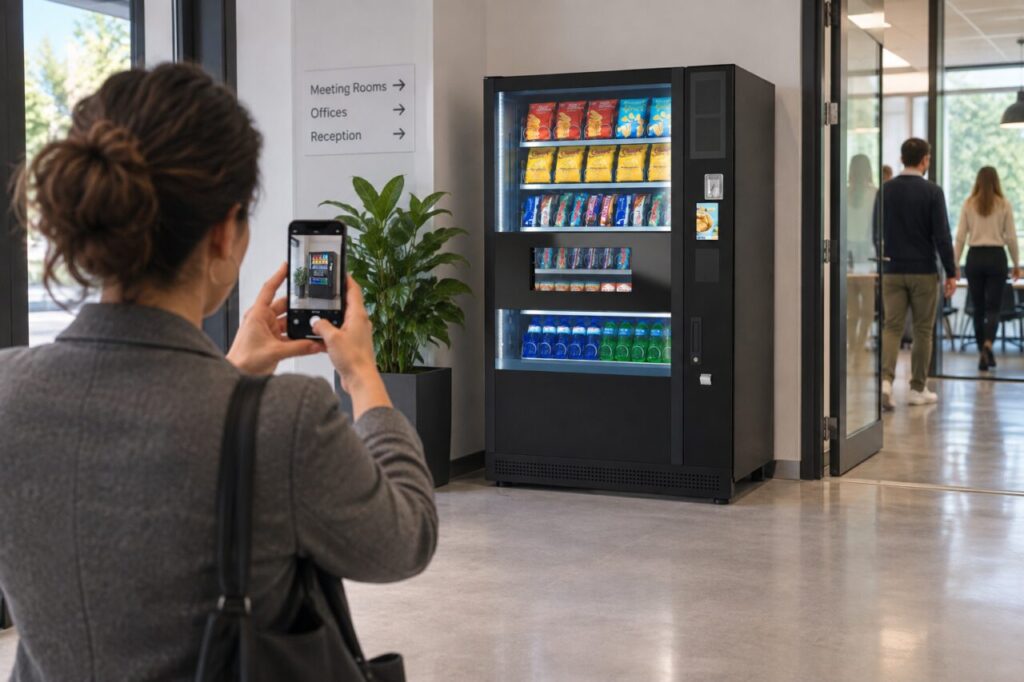
Ask the supplier what views they need and how to send them through the agreed channel. Photos support an assessment; they do not replace every measurement, technical check or visit. Keep that limitation clear so an early discussion is not mistaken for final approval of an installation route or machine position.
Show the position in context
Take a wider view of the proposed area from a normal approach direction. Include nearby furniture and the space customers would use while selecting and collecting products. A useful image allows the supplier to understand the relationship between the machine position and the room rather than seeing an isolated patch of wall.
If furniture is expected to move, explain which items are temporary and which will remain. Do not stage an unrealistically empty space and omit the usual layout. The assessment should reflect the intended operating arrangement, including relevant queues or shared uses, without requiring identifiable customers or employees to appear in the photographs.
Explain the access route
Ask whether the supplier needs images of entrances, corners, lifts or other parts of the delivery route. Label the views in the order a delivery team would encounter them. A few clearly identified photographs are generally easier to discuss than a large unlabelled collection taken from unrelated angles.
Provide measurements separately where requested and explain how they were obtained. A photograph cannot reliably communicate every clearance or load requirement. Do not infer that a route is suitable simply because another piece of furniture passed through it. Let the responsible supplier and site specialists assess the actual equipment and building conditions.
Protect information that is not needed
Avoid including access codes, confidential screens, documents or identifiable people where they are unnecessary to the assessment. Use a suitable time and angle to capture the physical space. If a sensitive detail cannot be avoided, ask the responsible site contact how the information should be handled before sending the image.
Keep the image description factual. State which entrance or room it shows and note any planned change that affects its usefulness. Do not describe a socket, floor or doorway as approved for the equipment unless the appropriate person has actually confirmed that point through the required assessment process.
Keep the assessment current
Date the photo set and identify the site contact who can answer follow-up questions. If building work or furniture changes occur afterwards, send an updated view through the same agreed process. The supplier should not have to discover on delivery day that the photographs represent a layout that no longer exists.
Our guide to working space during service visits highlights why the final position needs more than the cabinet footprint. Discuss installation, customer use and later servicing together. Each may involve a different part of the surrounding area and a different responsible person.
When arranging vending for an Irish site, use photographs to make the conversation more precise. Keep open questions visible and confirm which checks still require a visit or specialist input. The goal is a shared understanding of the real space, not a premature promise based on a flattering camera angle.
Discuss a site assessment with our team and ask which photographs would be useful.